ooooooooooo

BDRAG, JUST CHECKIN IN....

BDRAG

Well-known member
Lifetime Member
Joined
Aug 26, 2018
Messages
720
Points
93
Location
DALLAS AREA
Roxor Ownership
No longer own
Roxor #
:-(
03/02/2022 UPDATE.

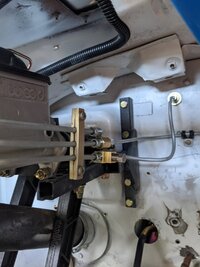
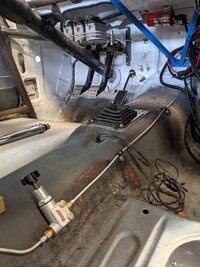
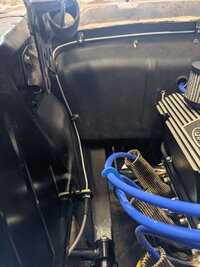
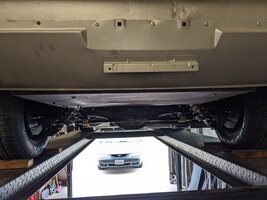
Well I have finished the front and rear brake line install.

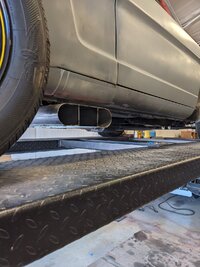
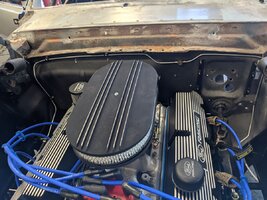
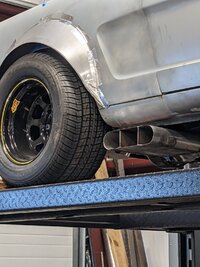
Got back on my home made collector/ resonator / WTF exhaust tip. Lololol. It's tacked in for sound check. Lolol. Sounds decent. May leave it. Lol.


BDRAG

PXL_20220302_184005599.jpg PXL_20220302_183946517.jpg PXL_20220301_204756591.jpg PXL_20220228_223000532.jpg PXL_20220228_223019596.jpg PXL_20220301_204836369.jpg PXL_20220301_204848988.jpg
 

BDRAG

Well-known member
Lifetime Member
Joined
Aug 26, 2018
Messages
720
Points
93
Location
DALLAS AREA
Roxor Ownership
No longer own
Roxor #
:-(
Got a belt squeek? Just listened to the video. Lolol.

BDRAG
 

BDRAG

Well-known member
Lifetime Member
Joined
Aug 26, 2018
Messages
720
Points
93
Location
DALLAS AREA
Roxor Ownership
No longer own
Roxor #
:-(
03/05/2022 UPDATE:

Pete's parents are in town so I'm giving them space without and car distractions. Lol.

I got all the brake lines tightened up ready for the bleeding process.

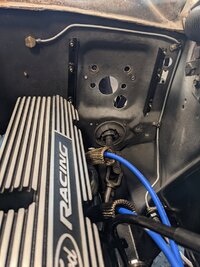
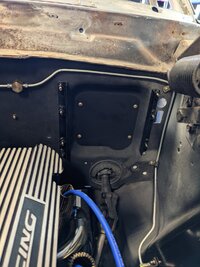
Made a blank off plate to close out the 5 or 6 holes from the OEM brake booster and whatever else needed a big ass hole in a 6 inch area. Lol.

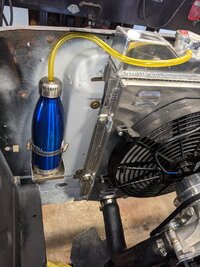
I made a bracket and modified a promo gimmy insulated drink thingy into a radiator over flow catch can and mounted it. Lol. Prolly won't stay, it's kinda as a joke but, it's a conversation piece. Lol.

BDRAG

PXL_20220304_195442837.jpg
 

BDRAG

Well-known member
Lifetime Member
Joined
Aug 26, 2018
Messages
720
Points
93
Location
DALLAS AREA
Roxor Ownership
No longer own
Roxor #
:-(
More of a crown royal guy myself.
View attachment 10413


Sent from my iPad using Tapatalk
Lolo. I love it! While looking at REAL OVER FLOW CANS, I saw a place that did make mounts for Jack Bottles to do the same as you have done with the crown.


BDRAG
 

BDRAG

Well-known member
Lifetime Member
Joined
Aug 26, 2018
Messages
720
Points
93
Location
DALLAS AREA
Roxor Ownership
No longer own
Roxor #
:-(
03/07/2022 UPDATE:

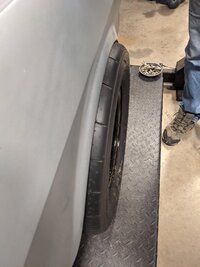
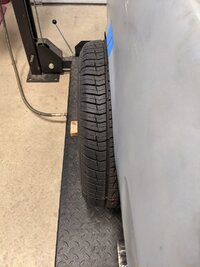
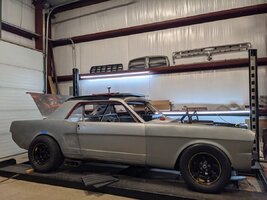
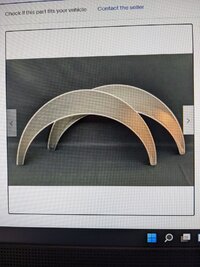
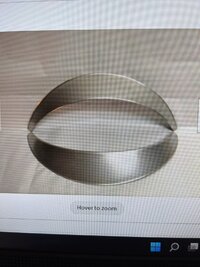
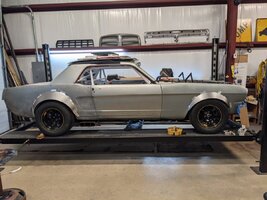
Well we hung the front fenders to measure for flairs. Measured rear. Will use 3" flairs in the front, 5" flairs on the rear. Buying steel flairs off ebay.

We were missing the fender to rocker panel nuts. Ordered those and the flairs. Now sit and wait.

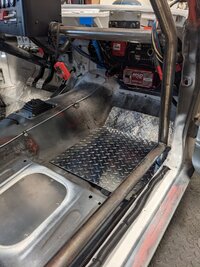
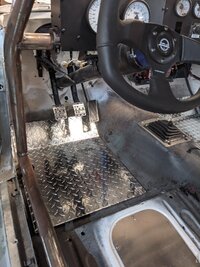
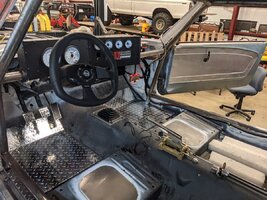
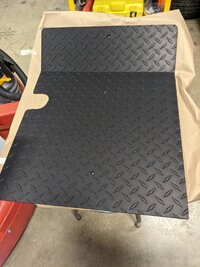
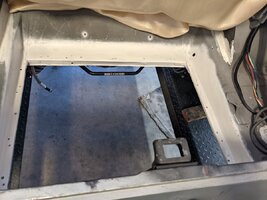
The sit and wait thing is so bad for the active brain. Example. Sitting around thinking about what next. Then I decide at midnight that I want to address the front floor area. I decide I want diamond plate floors.

So off to the local metal supply shop which just happens to have a rack FULL of drop diamond plate. Sure enough they had a piece with the exact measurements I needed. $75.00

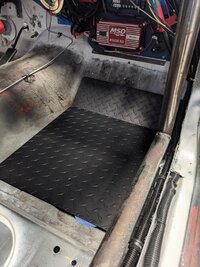
So I ran back and spent an hour facing up floor plates. Got them cut, bent and fit. Now all I need to do is apply some 1/4" foam for heat reduction on the back and install some tie in points.

I also started scraping off all the factory sprayed in tar crap that Ford sprays all over to seal off their poor fitting floor panels.

BDRAG

PXL_20220307_185435406.jpg PXL_20220307_185439612.jpg PXL_20220307_191924534.jpg PXL_20220308_012638344.jpg PXL_20220308_012653879.jpg PXL_20220308_180315149.jpg PXL_20220308_180342109.jpg PXL_20220308_180403794.jpg
 

BDRAG

Well-known member
Lifetime Member
Joined
Aug 26, 2018
Messages
720
Points
93
Location
DALLAS AREA
Roxor Ownership
No longer own
Roxor #
:-(
03/10/2022 UPDATE:

OPPPS! Got the date wrong yesterday. Lol.


So got the diamond plate floor boards heavy etched to remove the chrome look and the black anodized. So they will not blind us in the sun. Lol. Look good!

Also snapped a pic of the closeout plate covering all the holes where the OEM master cylinder came through the fire wall. 6-7 holes?

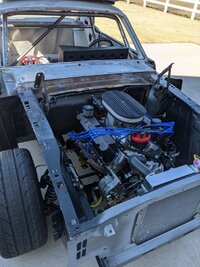
Ran the car outside for the first time for about 20 minutes. Loud but not loud like when it's in the shop building! Lol. So far so good. Heats up to185, electric fan kicks on, 200 the thermostats opened and it drops to 196 and stays right where it's programed to. Cool.

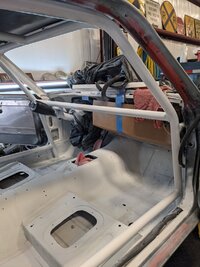
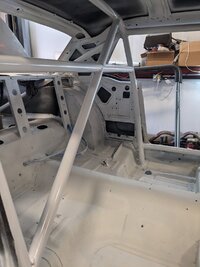
Started scraping away all of Ford's tar like spray used to cover all their joints and ugly before they put carpet in at the factory. Will get started painting and truck bed spaying the seen areas. Then the roll cage. Then start putting the interior together.


BDRAG

PXL_20220310_193139876.jpg PXL_20220310_193459963.jpg PXL_20220310_203707547.jpg PXL_20220310_204849768.jpg
 

BDRAG

Well-known member
Lifetime Member
Joined
Aug 26, 2018
Messages
720
Points
93
Location
DALLAS AREA
Roxor Ownership
No longer own
Roxor #
:-(
03/21/2022 Update:

Lots going on that makes it a hurry up and wait period. Lol.

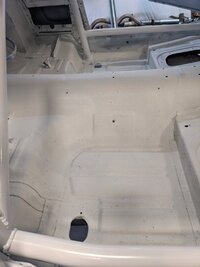
So while waiting on the flairs to arrive I went ahead and started the interior paint. Scrapped away Ford's tar crap front to back in the cabin. I then added my own crack and seam tar tape where needed.

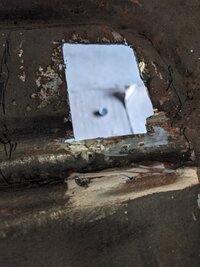
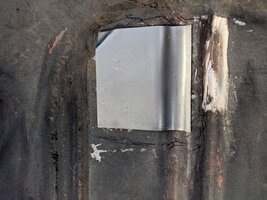
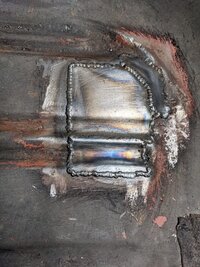
Removed the rear aluminum panel, brake lines, e-brake and anything I could take out for paint. While scraping and wire brushing I discovered a PISS POOR repair on the floor behind driver's seat pan.

One of the previous HACKS decided to Bondo some rust spots. As I sanded and poked it got worse. I finally just cut out a 3x3 inch area and rebuilt it. HACKS!

So after welding in the patches I primed it. Primed the entire floor. Then sprayed the areas not seen and out of sight white. Then sprayed a textured bed liner on floor pan areas. It came out decent. No show car but decent enough for a track type car.

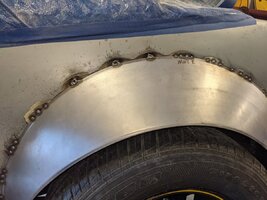
I had to make a 2 day run to the cabin to do some spring maintenance but before I left the flairs arrived. So I took an hour and tapped the flairs up for a test fit. They Look great!
I am going to learn some sheet metal to body work blending! Oh no! Lol.

I'm going to attempt to cut out the fender areas to clear the tires and open up as much area under the flairs as possible. The flairs on the rear are close to fitting up just right, need a little work at the ends.

The fronts going to be a *itch! The flairs are going to need to be blended in by carving out the fender but at the same time forming the lower areas outward the connect to the ends of the flair. Going to be a long drawn out, slow hack. Lol. What I can't bend into place will get patched in sheet metal. Trying to use as little Bondo as I can. We will see in the coming week. BDRAG

PXL_20220315_190330394.jpg PXL_20220315_190334720.jpg PXL_20220315_190400903.jpg PXL_20220318_205453814.jpg PXL_20220318_211642712.jpg PXL_20220318_205040762.jpg PXL_20220318_205049320.jpg PXL_20220318_205113505.jpg PXL_20220318_205527997.jpg
 

BDRAG

Well-known member
Lifetime Member
Joined
Aug 26, 2018
Messages
720
Points
93
Location
DALLAS AREA
Roxor Ownership
No longer own
Roxor #
:-(
03/24/2022 UPDATE:

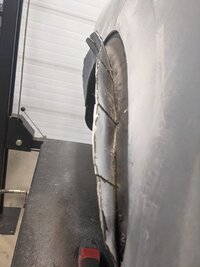
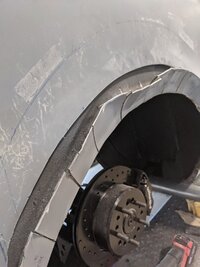
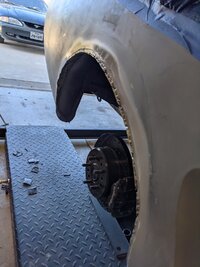
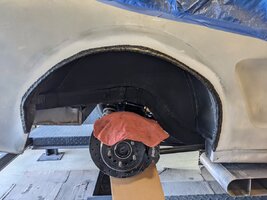
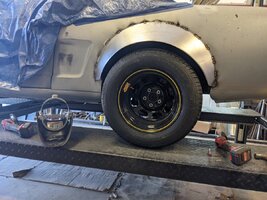
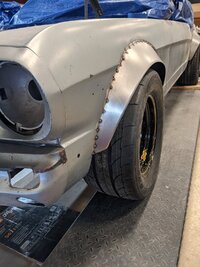
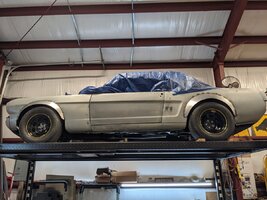
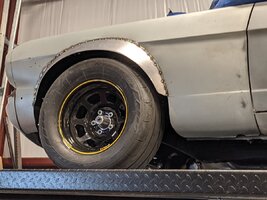
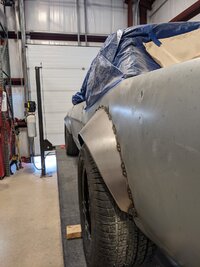
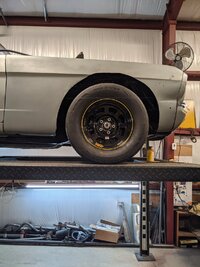
Well, started hacking away at the fenders prior to installing the flairs. Had to cut a TON away around the front wheel due to it being 10 plus inches wide. With a 3" offset, the wheel arc is crazy. Lol. The 3" flairs don't EVEN come close to covering up the hacked clearance. So two more 5" flares are coming.

Then got my buddy, Mr. Trig, to figure out my wheel travel taking into consideration of one side of the axle down and the other in full compression. He told me 2.55". So I went 3.25". Lol.

Laid out the rear as previously posted. Marked the rear quarter panel. Started to hack with the cut off wheel in the 18 volt Milwaukee 90 degree grinder thingy. As soon as I started the first pass massive amounts of dust. BONDO FREAKING DUST! There was 1/4 inch of freaking Bondo on the fender. ERRRRRRRARARA!

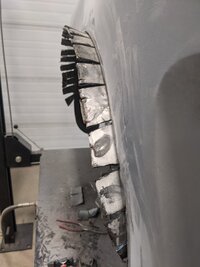
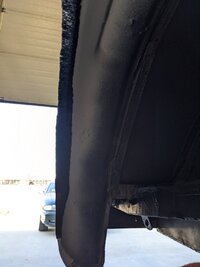
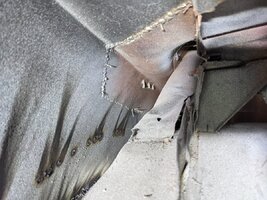
Yet more issues from the previous HACKS! So I keep going and cut away the outer skin from the inner fender panel. Peeled it away then pie cut it every few inches. Then peeled it away. Then I ground away about 3/8"-1/2 inch away or back to exposed metal.

Then I pie cut the inner fender that was now exposed. Then I folded it outboard even with the the new fender opening.

Then I tack welded all the inner tabs to the outer tabs. Then went back and trimmed off the extra inner fender outboard of the welds. Left the welds. Then sanded away the inner over hang and sanded it mostly smooth. Then wiped it all down with acetone. Then primed. The I ran a bead of my favorite item, the tar tape. I laid a piece about 1/2 inch above welded area and then folded it inward all the way around dealing up all the slits and welds. I LOVE THIS STUFF! Then I smoothed it all out, pressing and sticking in all the recesses and crevasses.

Then for good measure I sprayed a coat of black rubberized undercoat. I will go on the inside and run a bead of seam sealer in the areas I can reach. It's gonna be 98% leak free. The car ain't gonna have side windows so I don't plan on driving in the rain,! Lol.

Next is to install the flair. Once this first side is done I will replicate it on the other side.

BDRAG
PXL_20220322_184638092.jpg PXL_20220323_225131412.jpg PXL_20220323_225144215.jpg PXL_20220323_232025475.jpg PXL_20220325_203358690.jpg PXL_20220325_203403812.jpg PXL_20220325_205319572.jpg PXL_20220325_205335143.jpg PXL_20220325_210533491.jpg
 

BDRAG

Well-known member
Lifetime Member
Joined
Aug 26, 2018
Messages
720
Points
93
Location
DALLAS AREA
Roxor Ownership
No longer own
Roxor #
:-(
03/27/2022 UPDATE:

Well got the passenger side flair on. 1/4" thick Bondo is pissing me off. After we got the flare and welded it on, the Bondo cracked. Ererrrararrrr.
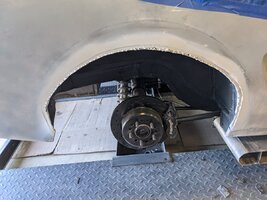
So then repeated the fit and cut process on the driver's side. OMG! 3/8" Thick Bondo. WTF?

So cut out the gender, slit and fit inner to other fender. Welded it, cleaned and primed, added my yard tape and shot a layer of undercoat. Then because the Bondo was so damn thick I welded some 5/16" and 1/4" nuts in 3 places on the fender where the Bondo was just so thick. Then welded the flare on, no big heat this time and had very little fender distortion.

Front flares will arrive Thursday. Then we attempt the front. Lolol.

BDRAG

PXL_20220326_214113157.jpg
 

BDRAG

Well-known member
Lifetime Member
Joined
Aug 26, 2018
Messages
720
Points
93
Location
DALLAS AREA
Roxor Ownership
No longer own
Roxor #
:-(
03/28/2022 Update:

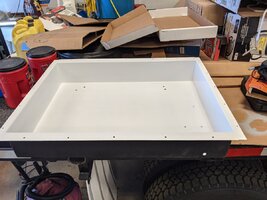
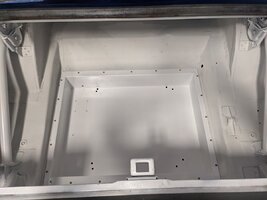
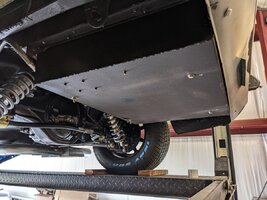
Well I pulled the fuel tank, pump and lines. Then pulled the trunk pan out to paint it. Cleaned, sanded and shot the whole thing with primer. Then shot the outside with rubberized black under coating and shot the inside with white Rust-Oleum enamel.

Cleaned up the perimeter where the trunk pan sits. Painted it white. Going to let it all dry a few days before re installing everything.

Now I have to weld in some hinge structure and clean up the inside of the rear quarter panels where the wheel wells were cut out and where the flares were welded to the rear fenders.

I'm going to use structural seam fill in the area under the flare to fender and all along the inside surface where the inner fender meets the outer fender. Then clean and paint it all.

BDRAG

PXL_20220328_163052364.jpg PXL_20220328_185048453.jpg PXL_20220328_185108853.jpg
 

BDRAG

Well-known member
Lifetime Member
Joined
Aug 26, 2018
Messages
720
Points
93
Location
DALLAS AREA
Roxor Ownership
No longer own
Roxor #
:-(
03/29/2022 UPDATE:

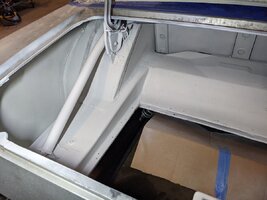
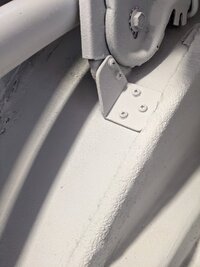
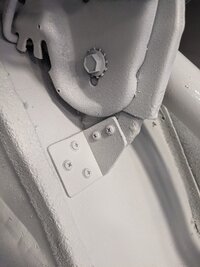
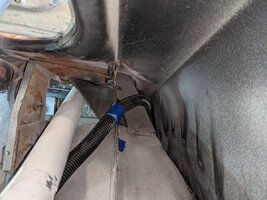
Today I was a "Trunk Monkey" lol. I seamed up the inner fender from the wheel clearance mod by using my favorite tool, tar tape. I then fabricated and installed structural brackets from the wheel well to the trunk hinge support plates. They use to tie in before the HACKS decided to install the bigger wheel wells. Then they left it flopping around unsupported. Then I primed and did a combo of white spray paint and white truck bed liner spray in the whole trunk. I really have white hair now! Lol.

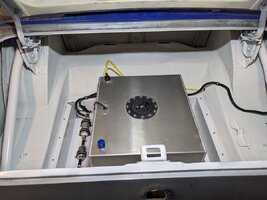
So a day to dry and I will re install the trunk pan and fuel tank and pump.

BDRAG

PXL_20220329_183934196.jpg PXL_20220329_184001288.jpg PXL_20220329_184349928.jpg PXL_20220329_184352382.jpg
 

BDRAG

Well-known member
Lifetime Member
Joined
Aug 26, 2018
Messages
720
Points
93
Location
DALLAS AREA
Roxor Ownership
No longer own
Roxor #
:-(
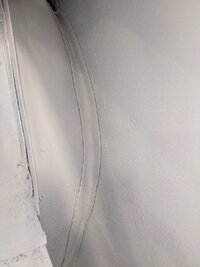
The previous HACKS used a grey trunk paint which looks like they sprayed over 40 plus years of dirt and maybe body work dust. So my paint and bed liner spray will never be smooth. Gonna be a non slip surface. Lol.

It looks like the whole back of the car was re skinned at some point in its life. Doing the paint clean up I discovered both sides have what I believe to be small sections of original quarter panels used to weld ne quarter panels to.

There is downward structure that is best to crap on the driver's side and that's the side with the most Bondo. It's a car with LOTS of down time! Lol.

BDRAG

PXL_20220329_155642445.jpg PXL_20220329_155738481.jpg
 

BDRAG

Well-known member
Lifetime Member
Joined
Aug 26, 2018
Messages
720
Points
93
Location
DALLAS AREA
Roxor Ownership
No longer own
Roxor #
:-(
03/30/2022 UPDATE:

Well, I installed the trunk pan, fuel tank, fuel pump, fuel lines and hooked up the wiring. I ran the wiring in some adel clamps to keep it neat.

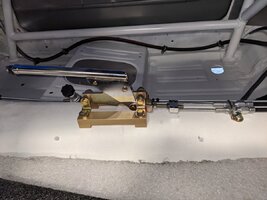
Then I finally ran the E-Brake cabling through the cable housing and attached it to the handle assembly. I crossed my fingers and cut off the access cable length.

Moving right along. I have some touch up on the roll cage paint to go and then I still need to do some painting on the steering column and replace some factory sheet metal screws with some real screws and nuts.

BDRAG

PXL_20220330_162430641.jpg PXL_20220330_183715625.jpg PXL_20220330_184858884.jpg PXL_20220330_184915695.jpg PXL_20220330_191331959.jpg
 

BDRAG

Well-known member
Lifetime Member
Joined
Aug 26, 2018
Messages
720
Points
93
Location
DALLAS AREA
Roxor Ownership
No longer own
Roxor #
:-(
03/31/2022 UPDATE:

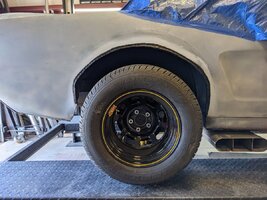
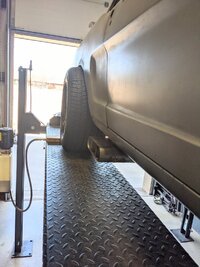
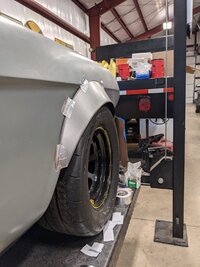
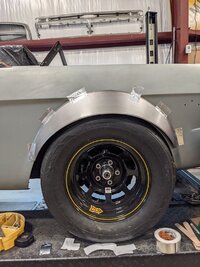
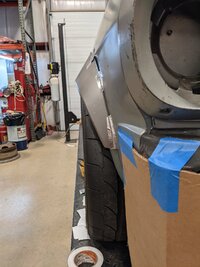
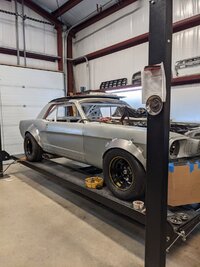
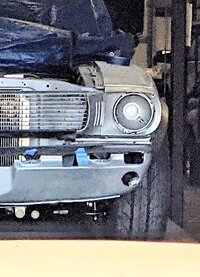
Got the front flares fit and welded on today. That's it. Lol.

BDRAG

PXL_20220331_225854277.jpg PXL_20220331_230320278~2.jpg PXL_20220331_233140113.jpg PXL_20220331_234457524.jpg PXL_20220331_230054749.jpg
 
Top