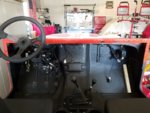
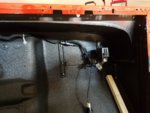
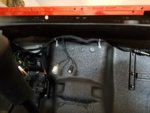
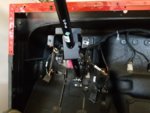
Here's how to remove the dash. Also some photos of the area behind the dash, since many of you modify this area without removing the dash, and you might appreciate a clear look at what's there.
1) 12 or so Torx screws. The passenger grab bar lower bolts require you to hold the nut on the rear, but the others are tapped into the metal.
2) The gauges are simple to remove once the dash is loose. The cigarette lighter 12V requires you to cut the thick shrink wrap on the back side prior to unscrewing the back nut.
3) The dash is steel, with a thick coating, with a foam/rubber border on the back side where it touches the red painted metal.
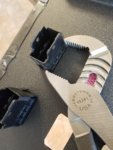
4) The 8 rocker switches are somewhat difficult to remove, as was discovered previously. I found the easiest way was to grab it with flat channel-lock pliers, then rock it carefully back and forth from the back.
5) Be careful not to break the plastic piece where the steering column goes through the dash. That plastic piece is glued to the metal, but it's very brittle, so don't pry it off. I used a thin metal putty knife (after I broke it), which worked well.
6) Two of the blank switches on the left have wires going into them, but I'm not going to test them. Someone else on the forum has preliminarily looked into that.


